Introduction
Create and edit AI images + videos with Sprint, combining the latest models from frontier labs with a visual canvas.
This is a brief guide to the main features of Sprint and the various bits and bobs that might be useful to know. But, we believe the best way to learn is to just jump straight in. Open Sprint ↗
Images & Video
All your images and videos live on a canvas, grouped by layers. Layers are the main way to organize your work and let you lay out your images and videos in a way that makes sense for your project. You can move layers around, resize them, and connect them together to create a flow of work. (See Connections.)
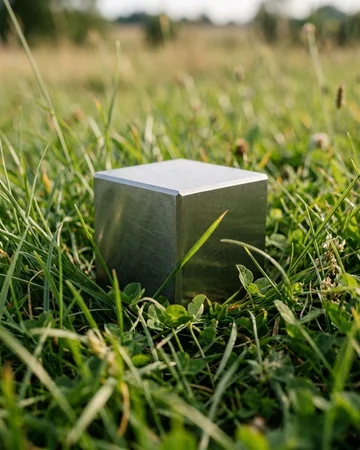
You create images and videos by prompting. Let’s start with something simple. Let’s say we want to create a product photo of a tungsten cube.
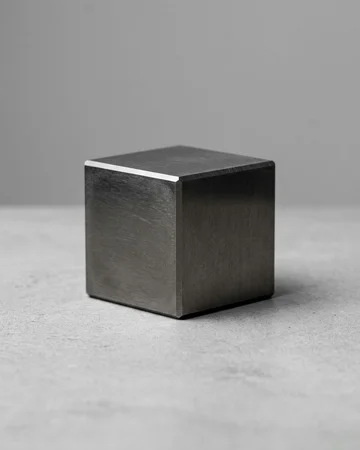
We now have a simple photo of a tungsten cube. But let’s say we want something a bit softer, something more human. Let’s ask Sprint to create a more interesting product photo:



Here we see a bit more of the Sprint UI, alongside our spiffy new product photo. The key thing is that there is no chat history for you to scroll through; it’s just a layer on a canvas.
This makes it easy to scrub backwards in time, see a previous version of something, and continue editing from there. New images get appended to the end of the list.
Mentions
Now, lets say we want to make slightly more interesting image. Say I've generated an image of thick oil paint, in a layer named Paint. I can now @-mention that layer in my prompt, and Sprint will use it as a reference for the next image I generate.

By mentioning the Paint layer, we can combine the image we are editing with other images. (By default, the layer you have selected is always used in your next generation, so you don’t need to mention it in your prompt.)
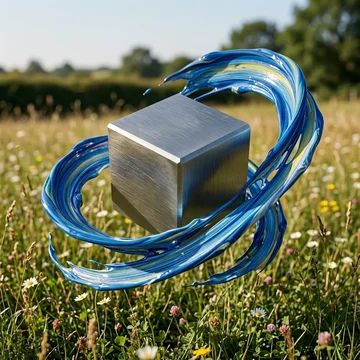

Along with layers, you can also mention objects, favorites, and styles in the same way.
Styles
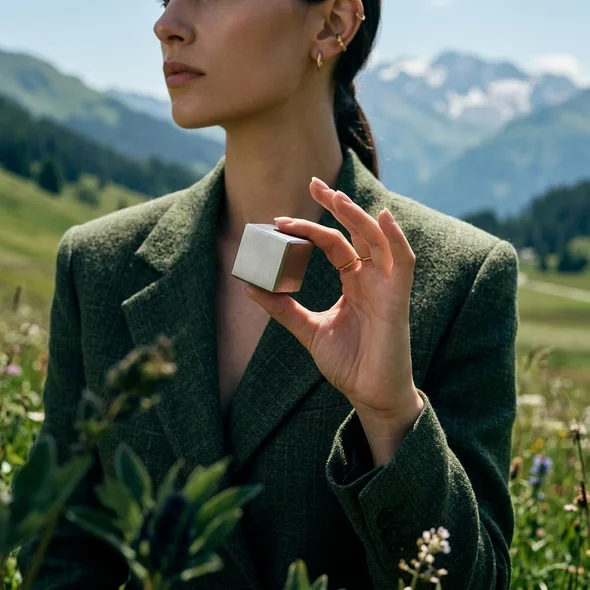
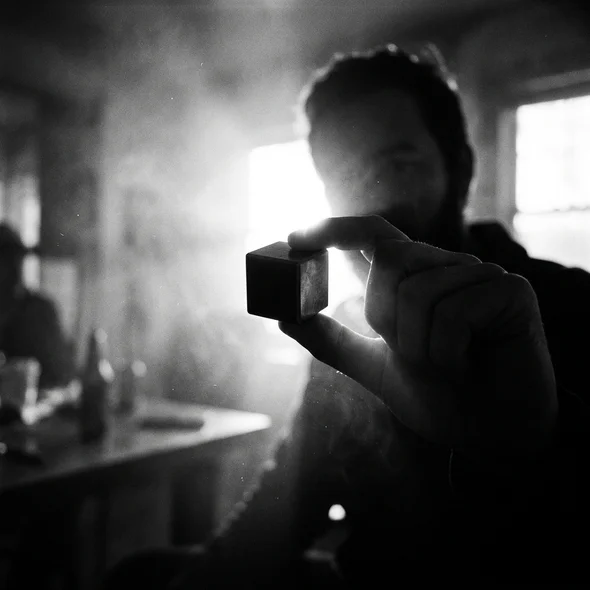
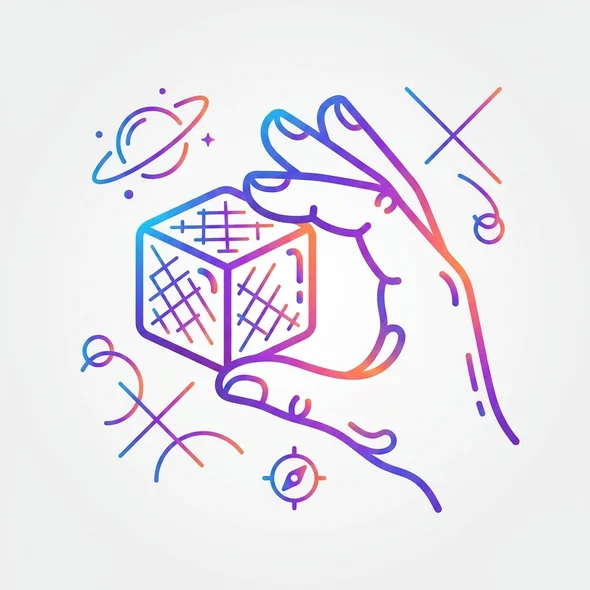
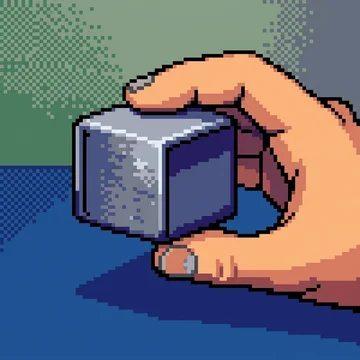
Styles let you quickly change the look and feel of your images. You can create your own styles from reference images or a specific prompt, or choose one from our library. You use styles by using an @-mention in your prompt, for example: @Summit
Continuing with our cube, here are a few examples of how the image changes with a single prompt using different styles.

Objects
Objects are automatically detected in images you generate or upload. Objects live alongside your layers and media. Think of them as your automatically updated product catalog.
The key feature of objects is that they allow you to specify the exact dimensions of something, so that Sprint can render it accurately. Then, when generating new images, just @-mention any object you’d like to feature in your prompt.
You can edit objects, merge them, split them, and choose which exact image should be used when generating new images featuring that object.
Connections
If you’d like files to automatically re-render when a source image is updated, you can create connections between layers. This is useful when you’re creating a set of images that all share the same object, setting, or model and want them all to update when the source changes.
Output
You can configure the effort, resolution, audio, and length of your images and videos. Higher settings consume more resources. The effort setting controls how much time the model spends generating your image or video, with a higher effort generally resulting in better results.
Effort may switch models internally, and may also affect the resolutions available.
We currently do not allow you to choose the exact model used for generating images and videos. We have highly customized workflows for each model. As of writing, we mostly rely on Nano Banana 2 for images and Gemini Omni for video, and we continuously update the models and workflows to provide the best results.
Usage and Consumption
Your plan’s included usage is based on the number and quality of the images and videos you generate. Generally, lowering the effort and resolution is your best bet to reduce consumption.
We pass through the cost of running the models, with a margin built in for our operations, background processing, and so forth. As faster and cheaper models become available, that will always be reflected in expanded usage for all plans. See pricing ›
We generally do not include general thinking model usage, object detection, file hosting, intelligence work, or other background processing in your usage. We only count the actual image and video generation. At extremely high usage levels, we may introduce caps and overages for background tasks, but you are always notified well before you reach your limit.
Agents
Sprint has full MCP support, so you can connect your local or external agent directly to Sprint. Connect your agent by using the following endpoint, or ask your agent to do it for you.
https://sprint.app/api/mcpcodex mcp add sprint --url https://sprint.app/api/mcpclaude mcp add --transport http sprint https://sprint.app/api/mcp